How it works
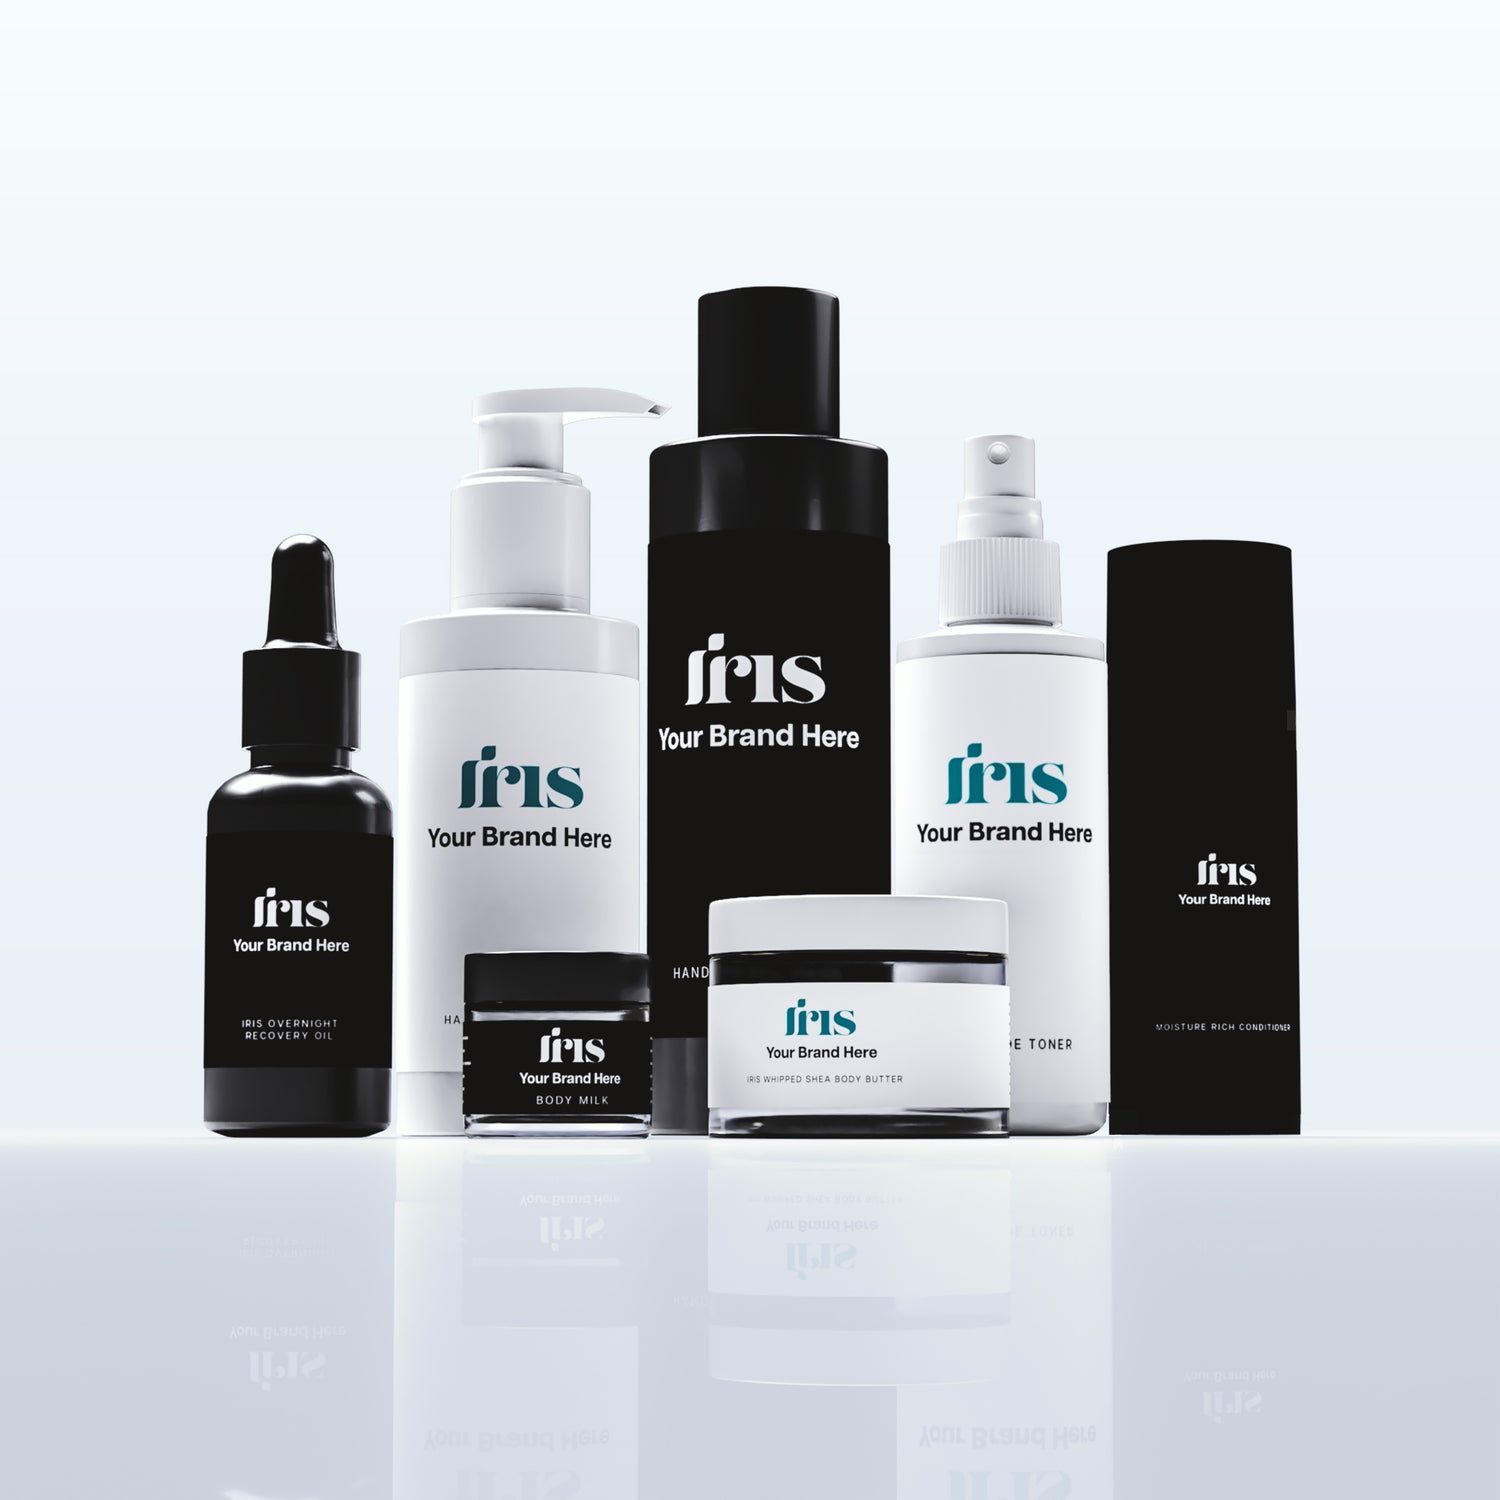
Browse catalogue
Select from our wide range of best-selling formulations that have been crafted with care. These come pre-formulated with an essential oil blend.
From cleansers to oils, lotions, mists, serums, balms, moisturisers, exfoliators, toners, masks, shampoos, conditioners and more, our extensive range has been hand-picked for your success.
Order samples
Once you’ve decided what products you’re interested in adding to your beauty range, you can order samples to test the formulations yourself.
Nothing beats getting hands-on with skincare products in the same way your customers would too - experiencing the look, feel, and scent - and seeing the results for yourself.
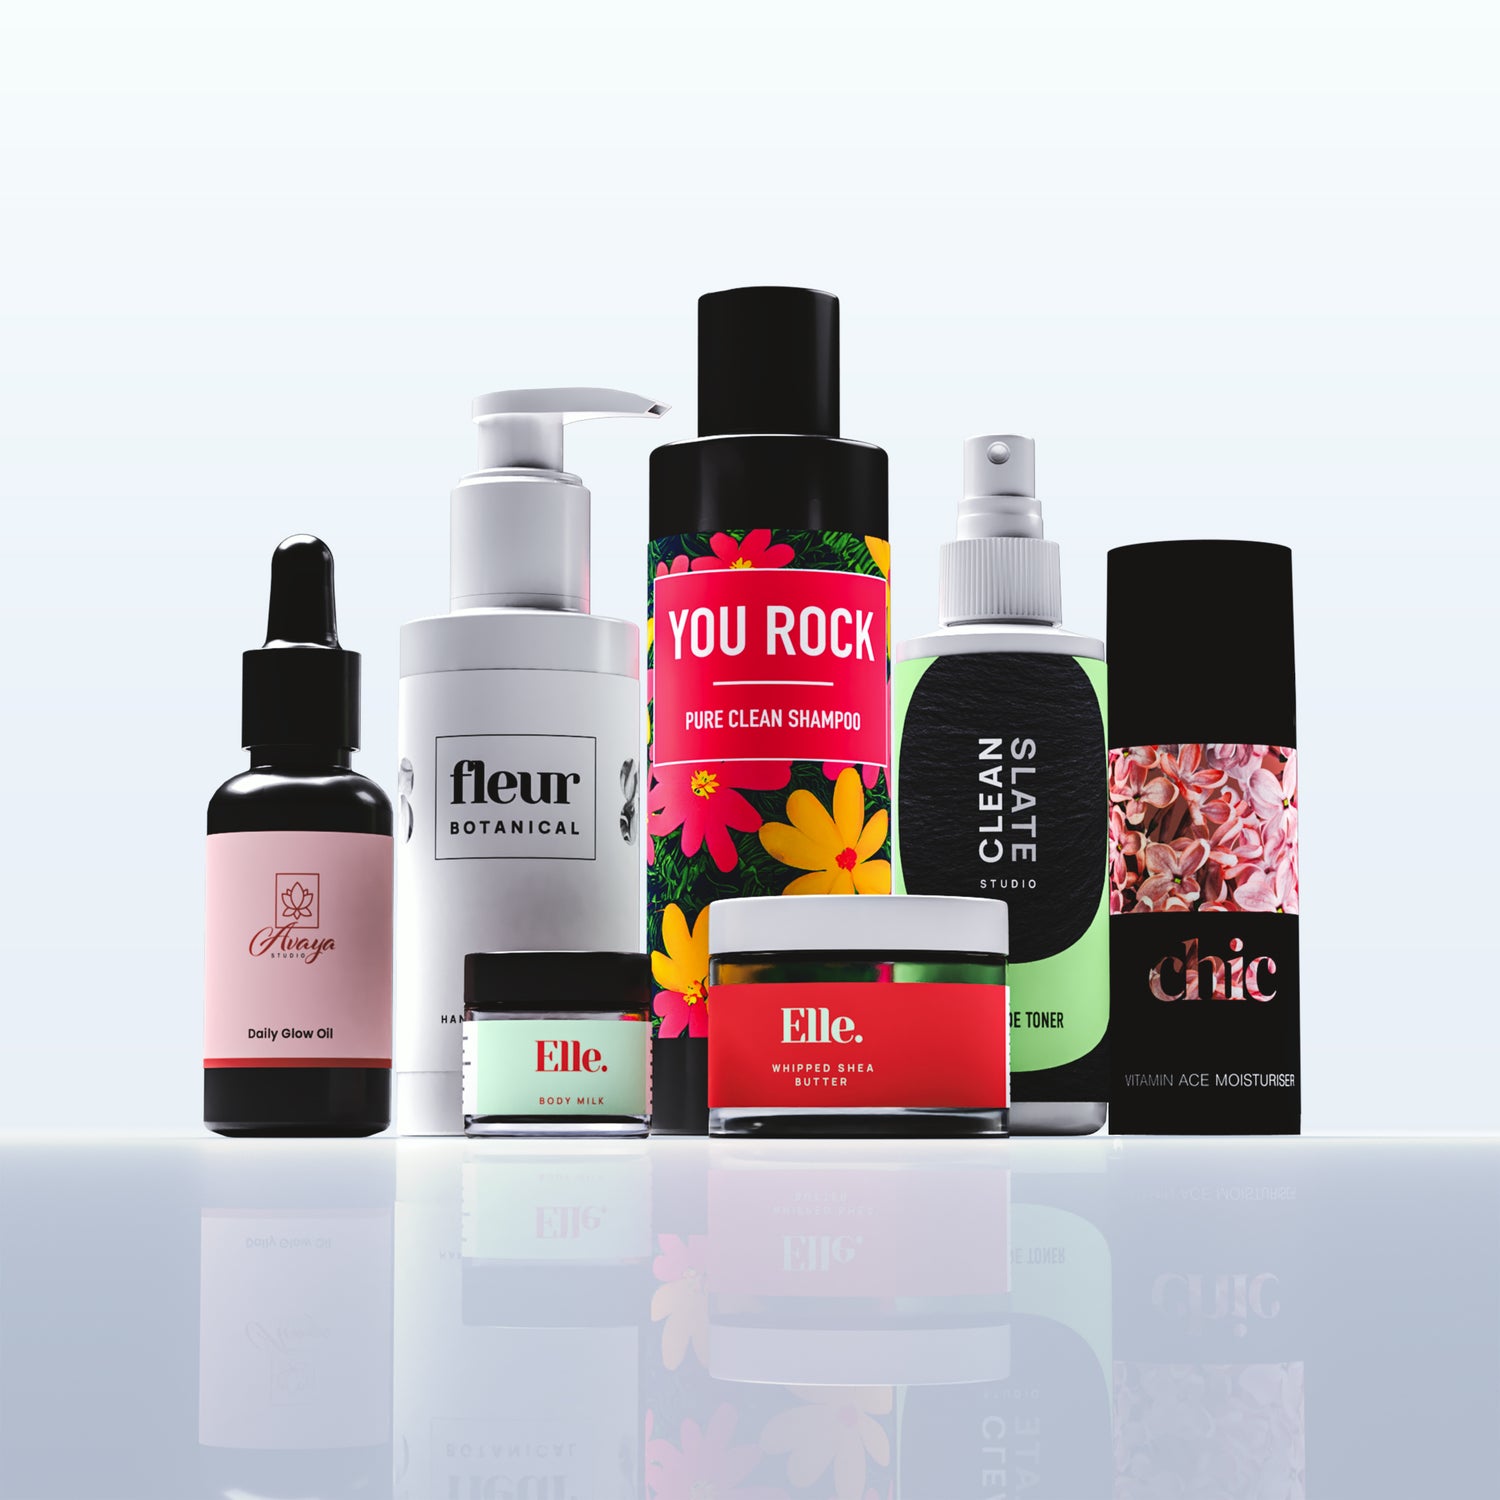
Pre-design artwork
During the ordering process you’ll be able to design your own product labels offline using our artwork guides. This easy process means that you can change colours, icon/logo, and text – all to suit your own branding.
We provide specific instructions, dimensions and a guide to absolutely everything you might need to know.
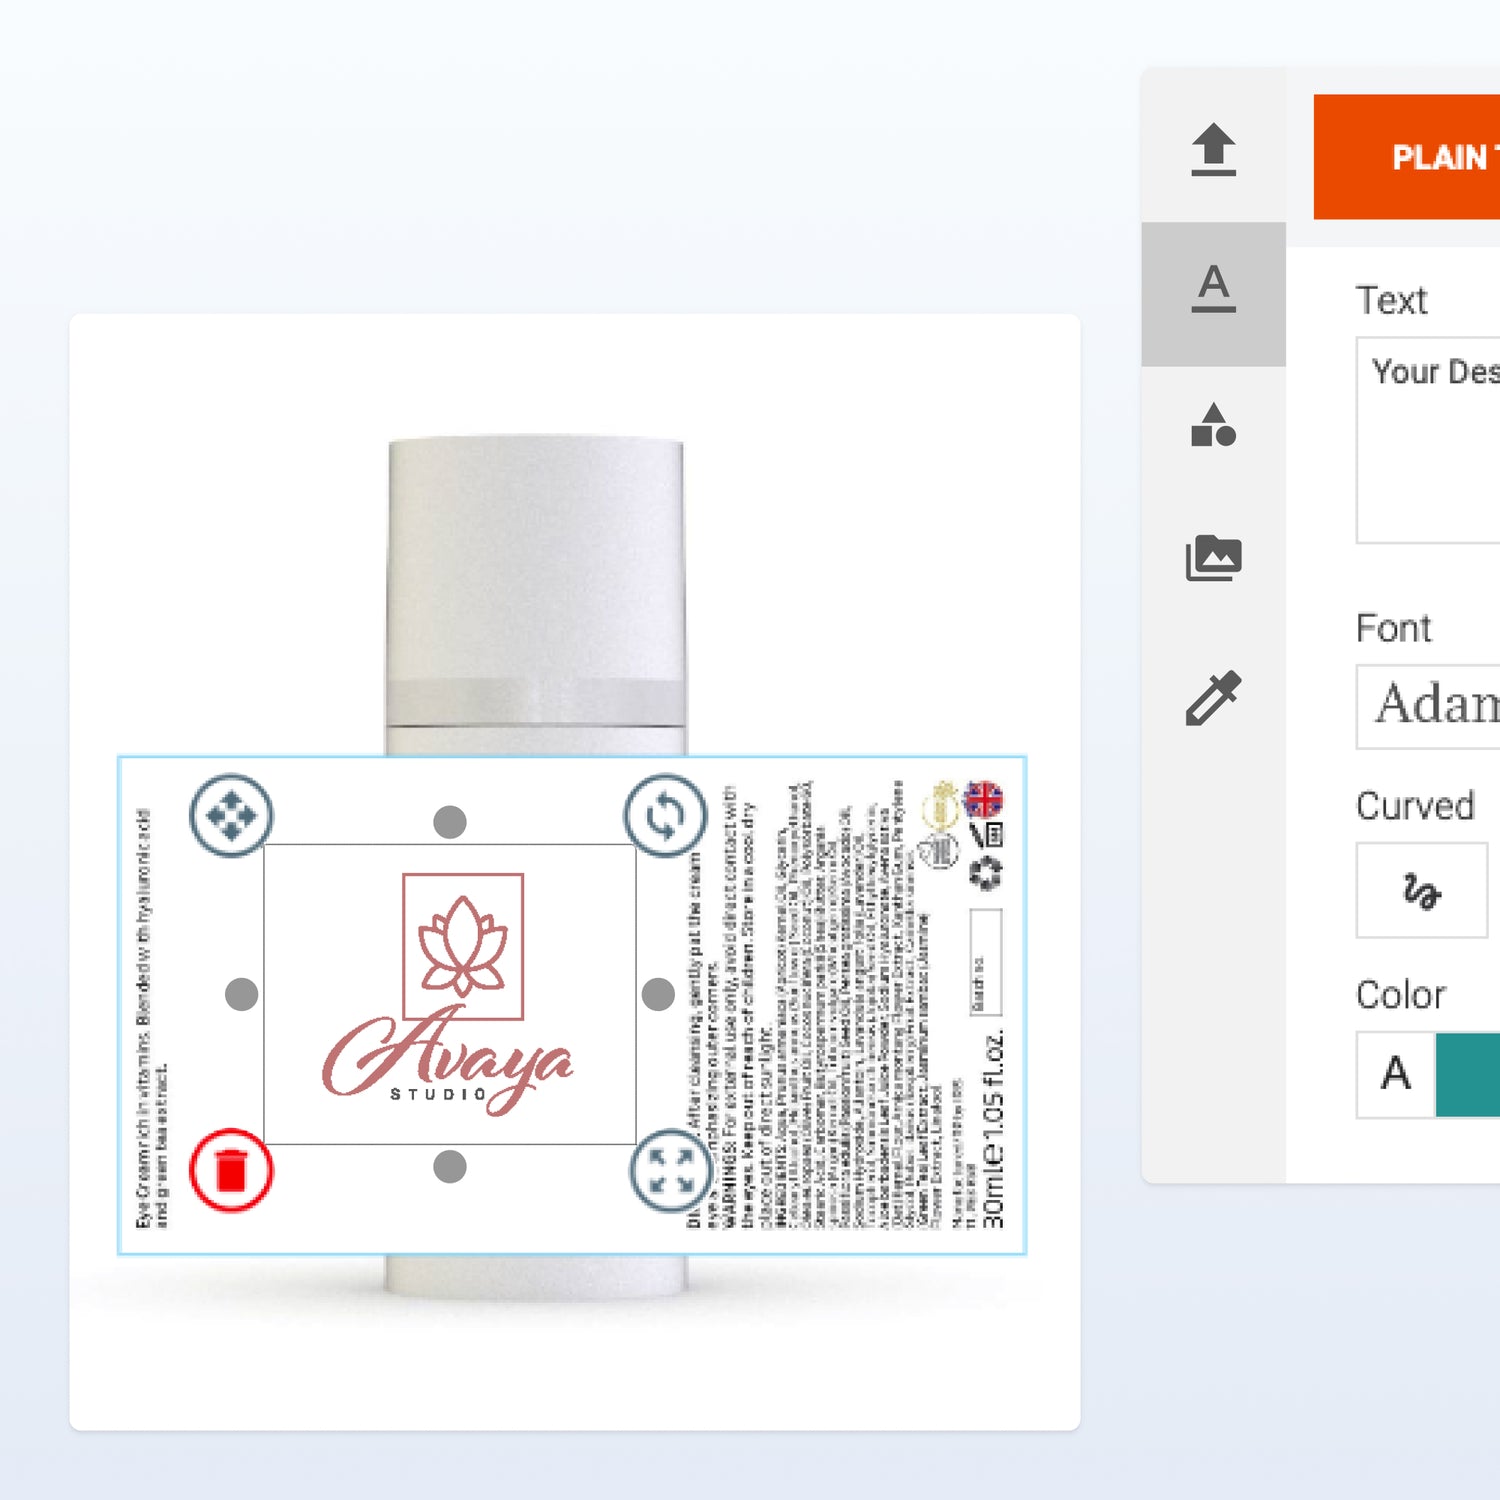
Order and create label designs online
Once you’re happy with your artwork, you can log back into your account and start uploading them to your labels. You can even view your completed designs in 3D to see them just as your customers will.
You’ll be able to save your design at any stage and finish it later. You can also keep your finished label and use it for your next order too.

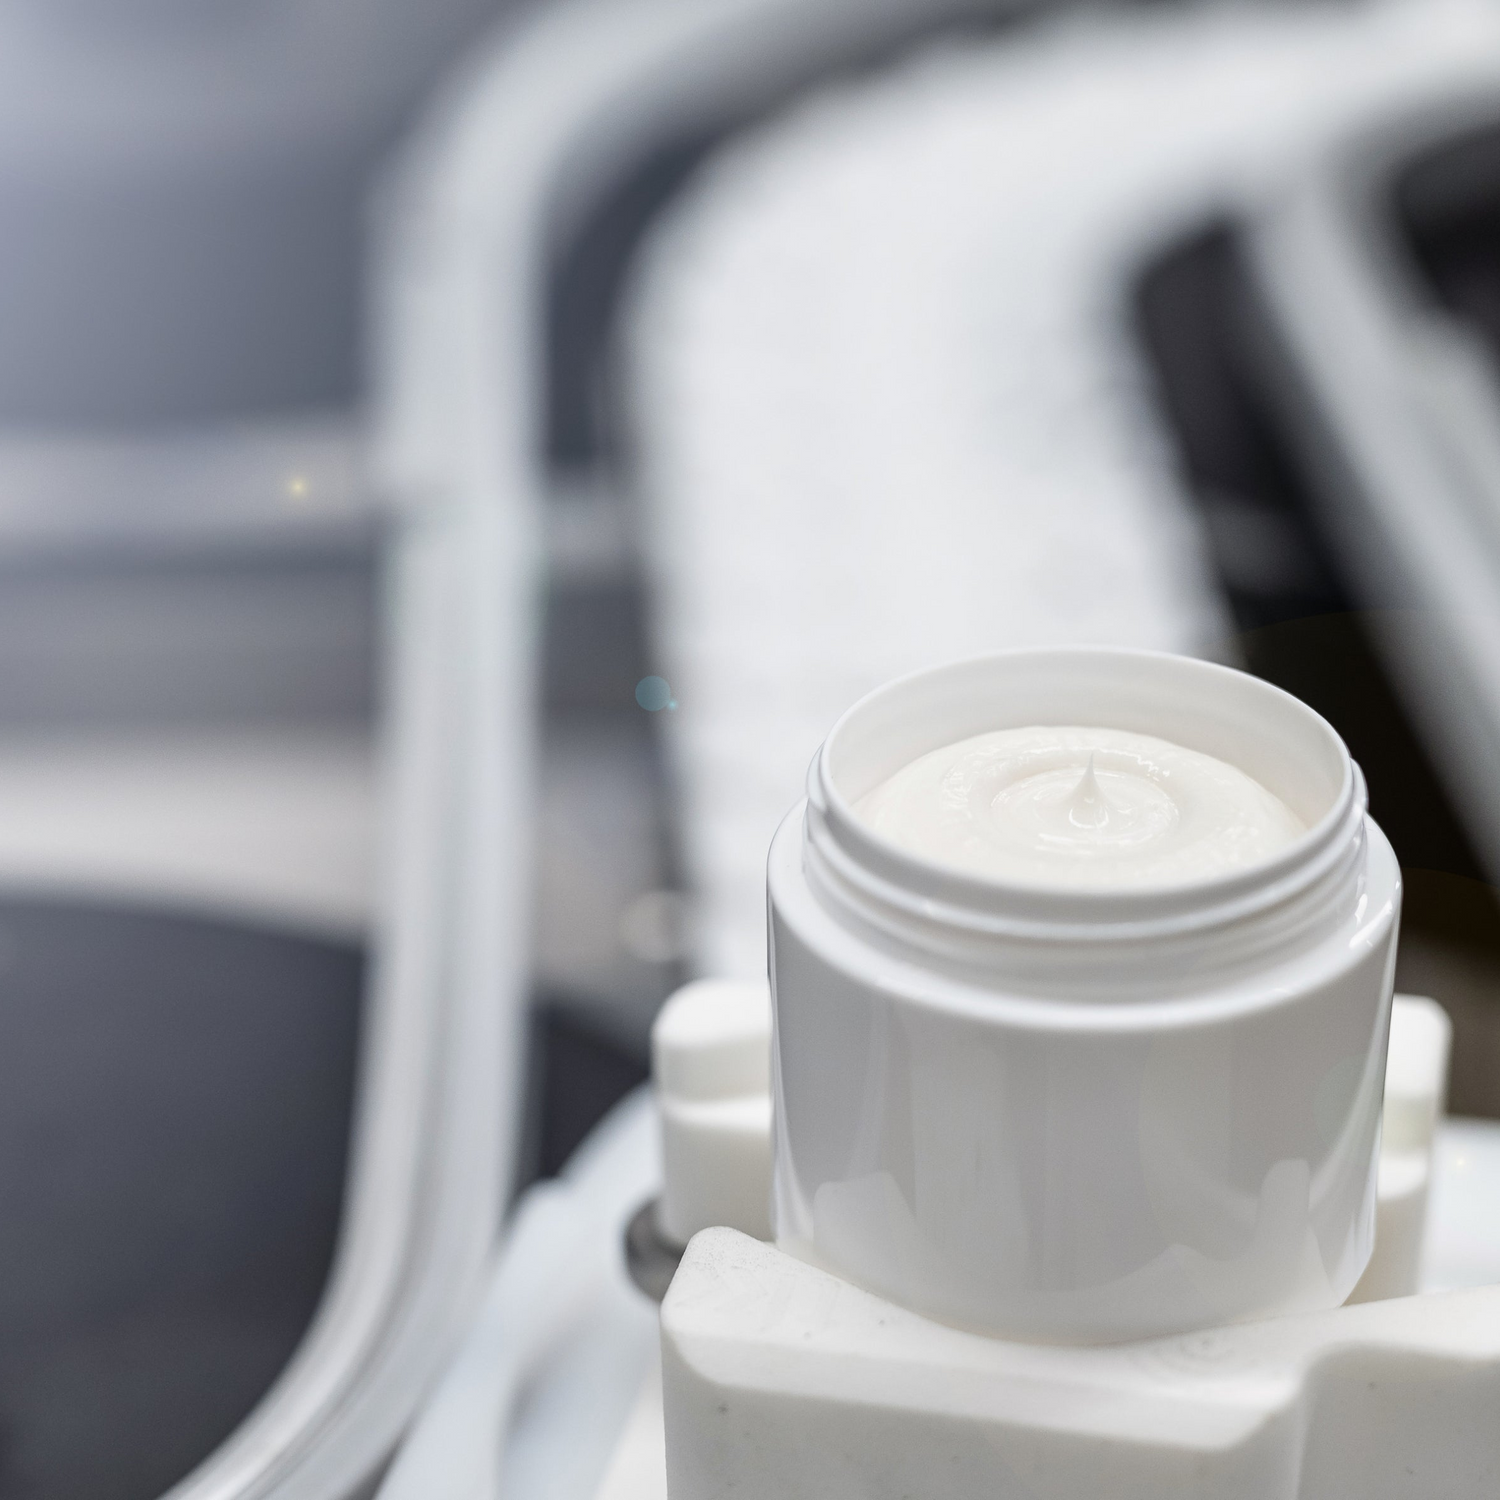
We manufacture and ship your order
Once you’ve approved your order, it’s over to us! Rest assured your products will be manufactured and shipped at the highest quality.
All formulations have already been registered on the cosmetics portal and have had full and rigorous safety testing.
Reordering
When you’ve received and started successfully selling your products, you may be ready to produce your next batch.
Simply log back in to your product portal, and you can access existing products and label designs. Just click to reorder. Simple!

Scaling up
We’re here to help you to grow your business. If you’d like to expand your product line to include further formulations or to order in greater quantities, then you can do so through our online portal - it’s quick and easy, with products delivered to you in as little as 6 weeks.
If you want to customise your formulations or order more than 1,000 units, take a look at our parent company Hera Beauty, who will help your business expand and grow.